It’s not really finished, but it’s darn close.

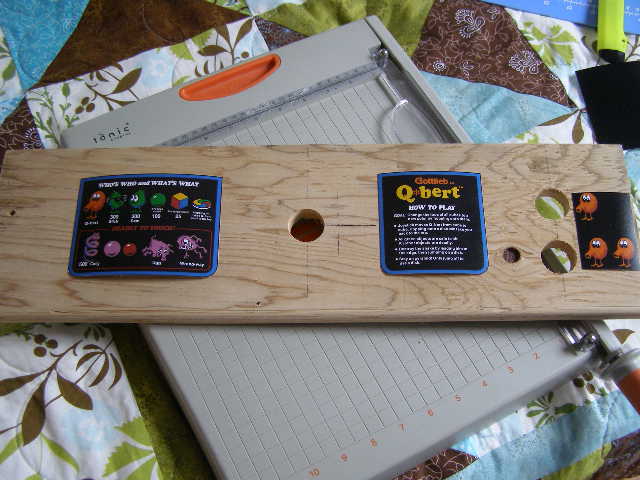
Reinstalled the coin door and finished the control panel. Sanded the lettering off the control panel bolts and sprayed them with a clear coat.

I also rewired the cab since everything was attached to the isolation transformer. While I was doing that I noted that this transformer had outputs for both 100V and 120V out. The transformer on my test bench only outputs 120V, so when I want to power up a Nintendo monitor I have to drag out a Nintendo iso. It’s a big PITA. I was considerably stoked to find this, I swapped the one in my test rig for this one and vice versa. Now I’ve got to get a switch so I can switch voltages on the fly for the appropriate monitor, but that’s a small price to pay for not having to drag out the Nintendo iso!

The monitor was /very/ blurry when I turned it on, of course it was a bit cold. Once it warmed up it was just fine. Played a few games, did not have the problem of hitting the diagonals like I did before.